
Model bases for your analog articulator, ready to print
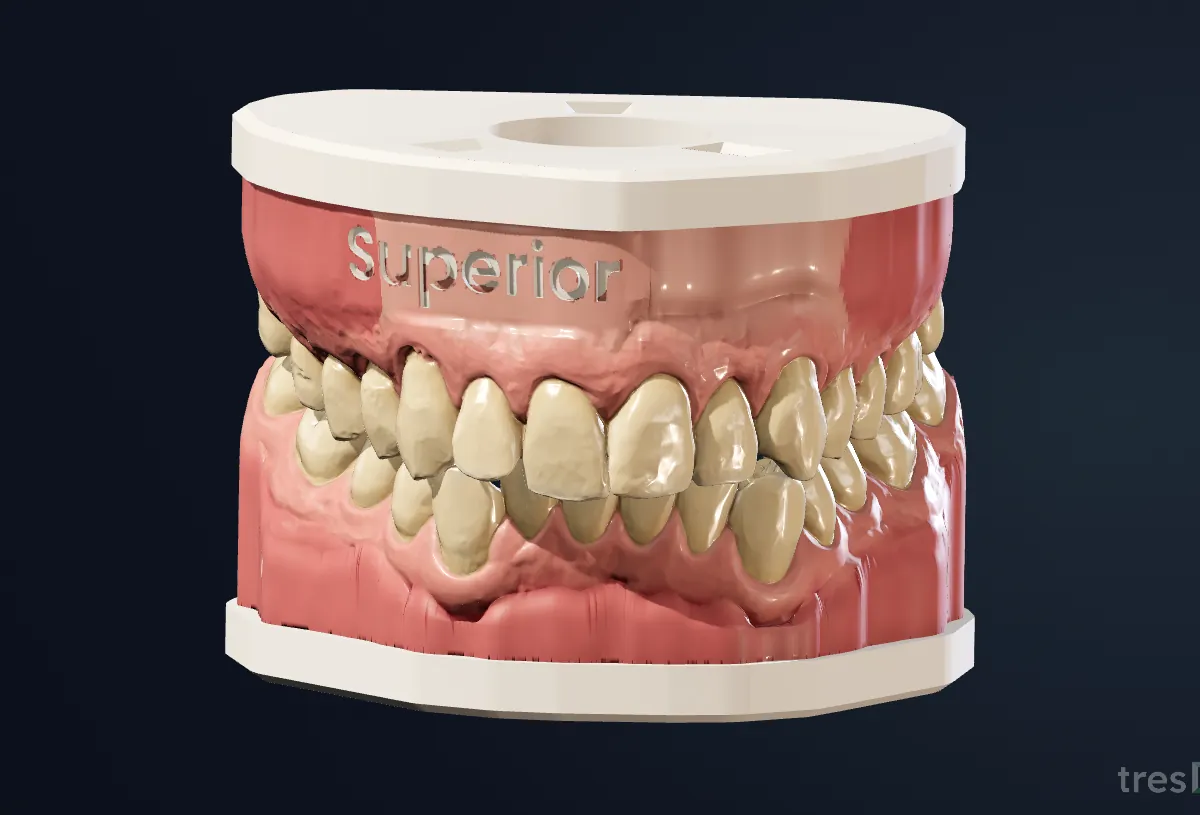
From the upper and lower scan, tresD Models makes the bases to mount the printed models on your analog articulator: you choose the articulator and how you will mount them, place the models by hand on the drawn articulator and download the STL files with the parts you need. You do the mounting yourself, on your articulator. In your browser, free, and your scans are never uploaded anywhere.
Open my scans nowFree · nothing to install · your scans never leave your computer
See it in action
Five articulators and four ways to mount
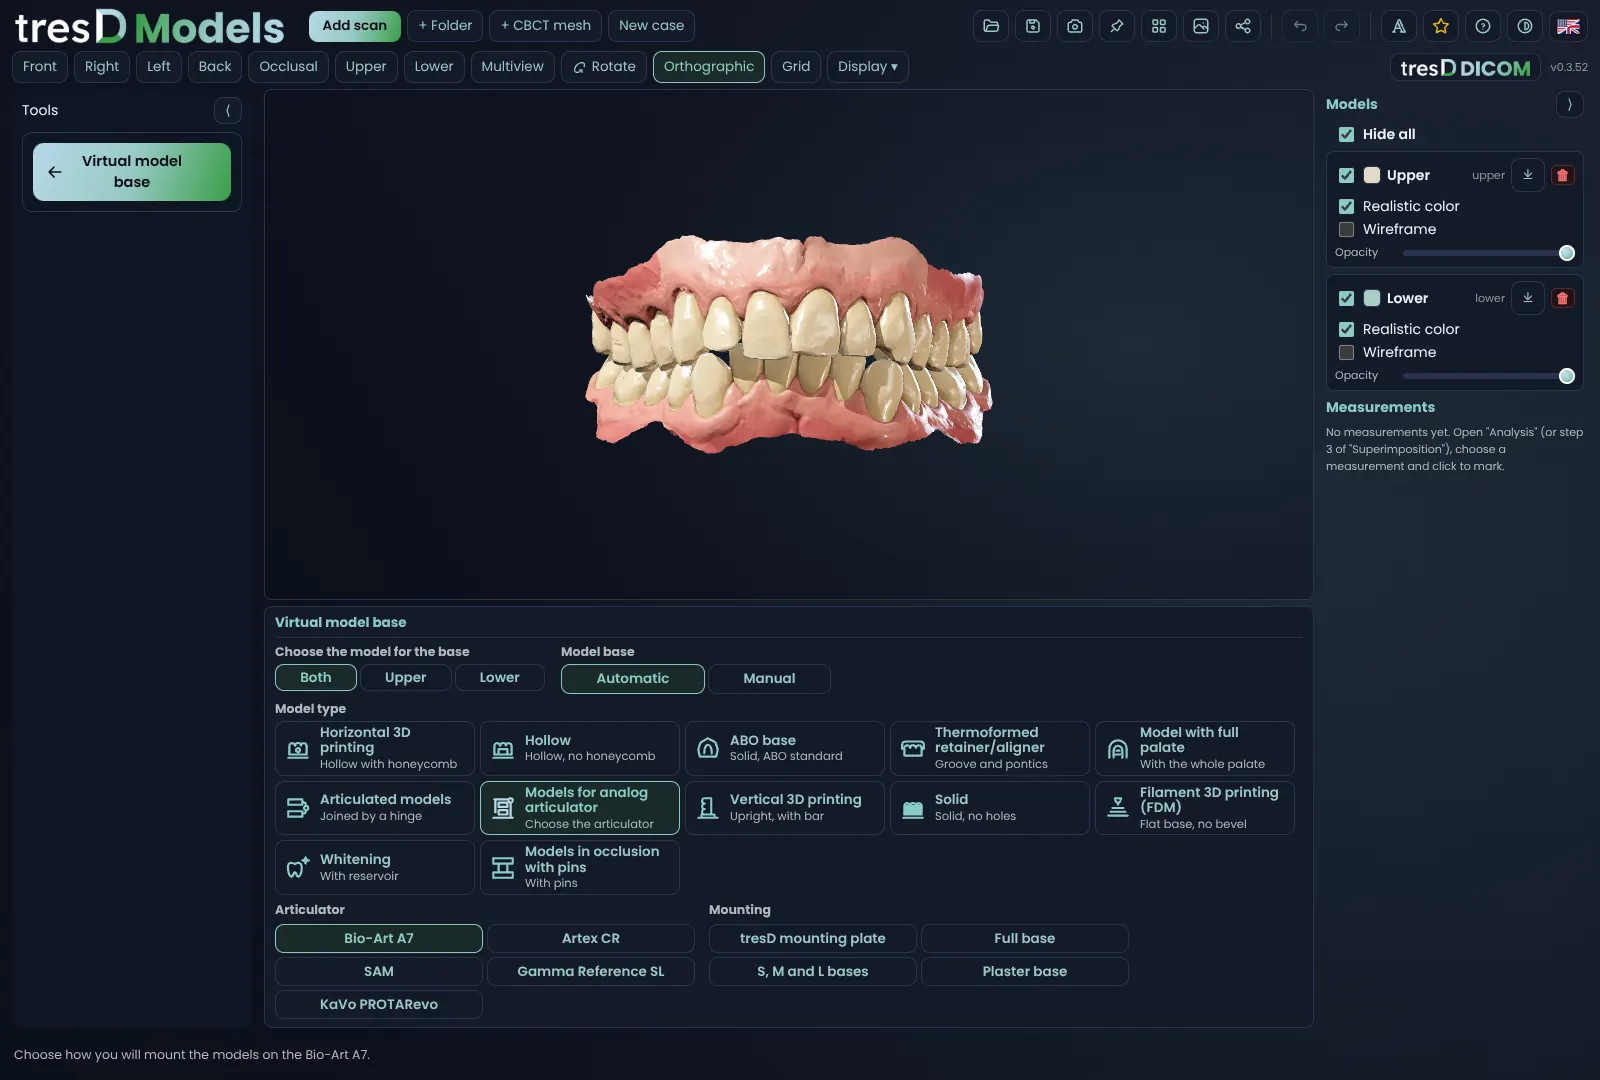
In the automatic base, the «Models for analog articulator» card asks for two things: the articulator —Bio-Art A7, Artex CR, Gamma Reference SL, SAM or KaVo PROTARevo— and the mounting:
| Mounting | How it works |
|---|---|
| «tresD mounting plate» | The base clicks onto the tresD plate with magnets; each articulator arm gets its own arm plate and, between them, plaster. The models can be taken off and put back without losing their position. |
| «Full base» | No plates: the base carries the shape of the arm underneath and goes straight onto the articulator. The articulator sets the height. |
| «S, M and L bases» | The base carries a rail that slides into the S, M or L bases of the articulator, which are downloaded and printed separately. |
| «Plaster base» | The base has a face with cavities underneath and is plastered straight to the articulator's original mounting plate. |
The full base and the S, M and L bases need both arches; with a single arch, the tresD mounting plate and the plaster base.
The models on the articulator, by hand
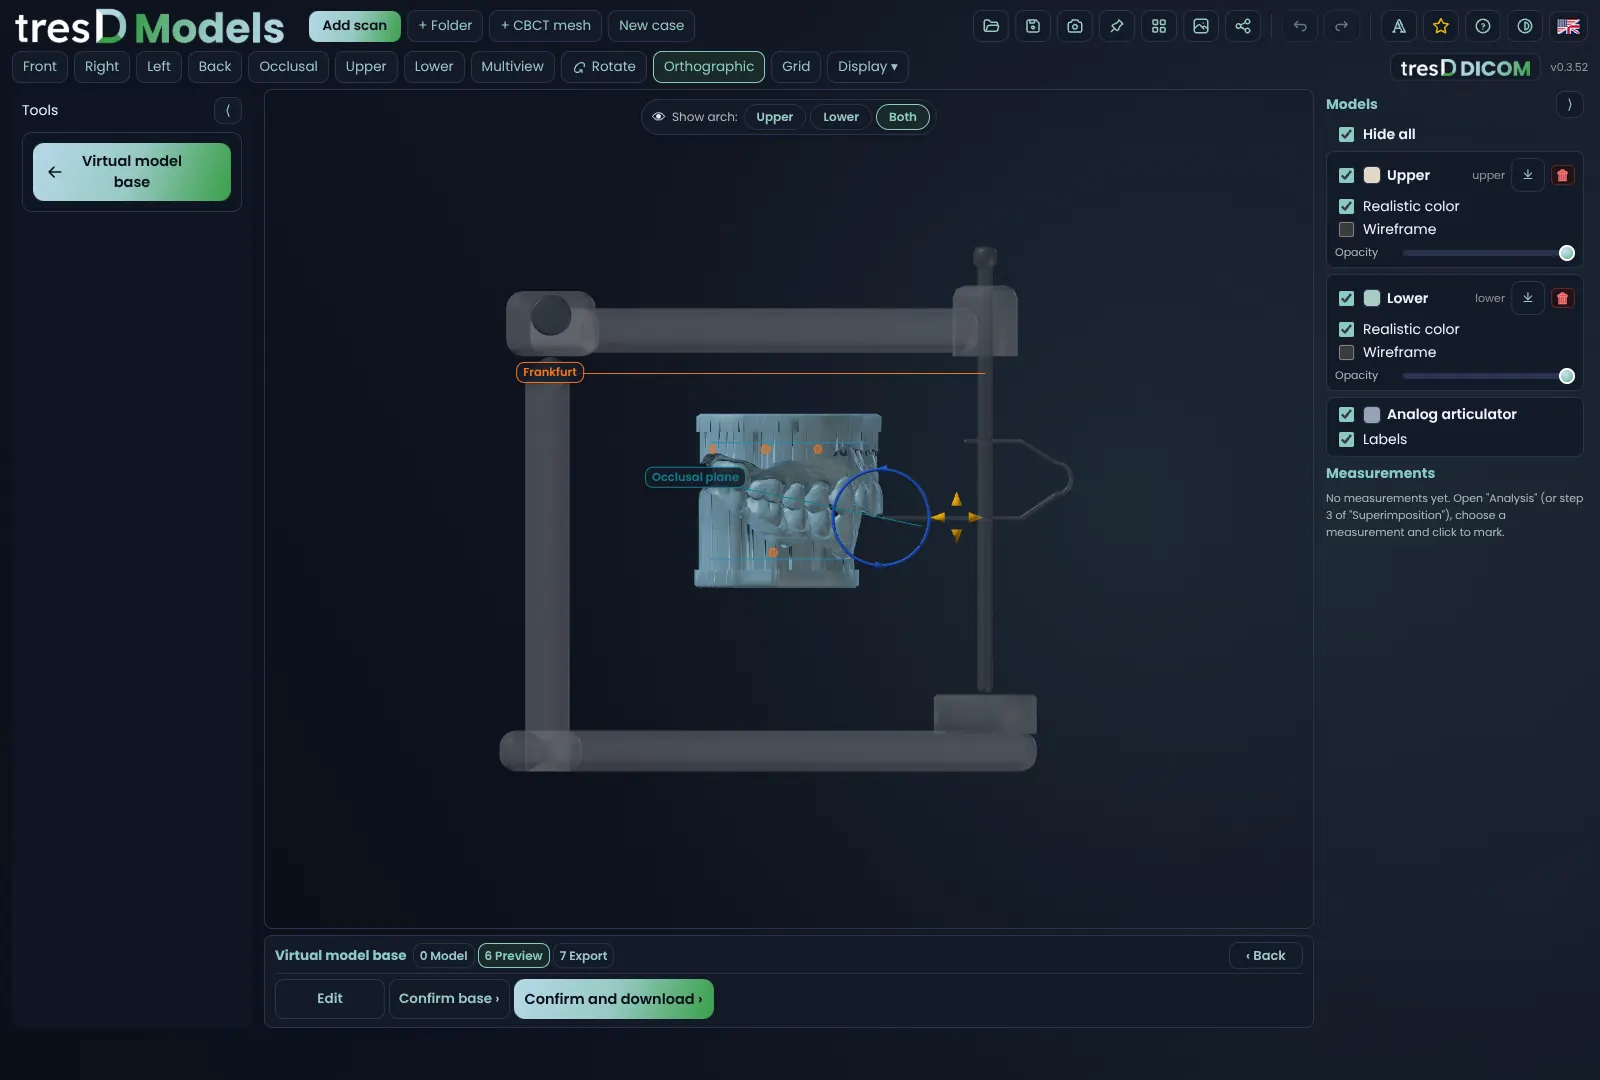
In the preview, the articulator is drawn with its references —the Frankfurt plane of its upper arm and the axis of its condyles— and the models start, by default, with the incisors at the incisal pin. You place them yourself with the arrows and the ring, or with the «Front / back» and «Up / down» sliders; «Reset position» puts them back. If the base or the model touches the articulator (the incisal pin or its table), it turns red and you are told.
- «My articulator»: saves the brand, the calibration and the clearances of your articulator and printer so you can apply them with one click next time.
- «Position»: mounts the models of another visit in the same place as the previous ones (for example T1 like T0), after superimposing them.
- With the S, M and L bases, the letter of the right base is engraved on the model base.
In pictures
Step by step
Open both arches
Go to tresdmodels.com/app and click «Add scan» with the upper and lower arch in their bite, in STL, PLY or OBJ.
Click «Virtual model base»
In the menu on the left. Below the viewer, under «Choose the model for the base», choose «Both» and then «Automatic».
Choose the articulator and the mounting
Click the «Models for analog articulator» card, your articulator and how you will mount it: «tresD mounting plate», «Full base», «S, M and L bases» or «Plaster base». The preview appears with the drawn articulator.
Place the models
Move them by hand to where you want to mount them, with the arrows and the ring or with their sliders. With «Edit» you can change any step of the base (height, hollowing, labels).
Confirm and download
Click «Confirm base ›» or «Confirm and download ›». In «Export» you get the STL files of both bases («Export both») and the parts for your articulator: the tresD mounting plate, the S, M and L bases or the arm test piece.
If something goes wrong
The full base or the S, M and L bases are greyed out
They need the upper and the lower arch. With a single arch, use the tresD mounting plate or the plaster base.
Something turns red in the preview
The base or the model collides with the drawn articulator (the incisal pin or its table). Move the models back or up until it disappears.
The plate fits too tight or too loose
Every printer prints differently. Download the test pieces, print the one that fits best and save its clearance in «My articulator».
The parts to download
The plates, the S, M and L bases of each articulator, the test pieces to tune the clearance to your printer and the calibration plate and cube are also on the home page, under Downloads, with their step-by-step instructions.
Watch it on video
The tresD Models tutorials on YouTube, step by step. They are in Spanish: turn on the YouTube subtitles and auto-translate them.
Common questions
Which articulators are supported?
Bio-Art A7, Artex CR, Gamma Reference SL, SAM and KaVo PROTARevo, each with its own dimensions.
Does the program mount the models on the articulator?
No: it prepares the bases for printing. The models are placed by hand on the drawn articulator and you do the mounting yourself, on your articulator.
Can I save the settings of my articulator?
Yes: «Save my articulator» keeps the brand, the calibration and the clearances in your browser, and next time you apply them with one click in «My articulator».
What format do they come in?
STL, closed and ready for your 3D printer software, together with the parts for your articulator.
Is it free?
Yes: no sign-up, no licences and no limit on models.
Are the scans uploaded to a server?
No. Everything happens on your computer, inside the browser.
Other guides
Features step by step
Try it with your scans
Free, no sign-up and nothing to install. Your scans never leave your computer.
Open my scans now